Once the photos were added, I realized that i didn't exactly explain the steps to coincide with the photos I took. So I've edited the steps a little to make it easier to understand.
Get ready for the most disappointing tutorial of all time.
It's 9:44pm and my card reader just died. *bang head*
So, no photos with this right now, but as soon as I can access them, I promise I'll share.
How to make coasters for your home:
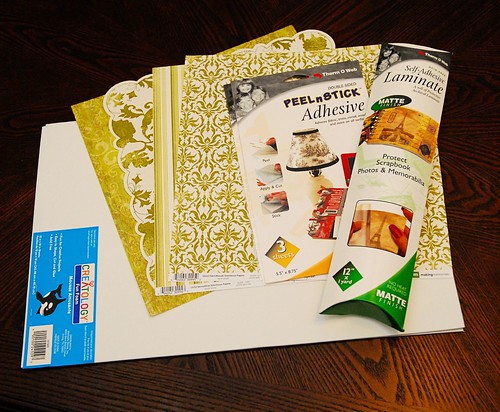
What you need:
Sharp scissors (fabric scissors are good, but you'll wreak havoc on them, so don't use spendy ones)
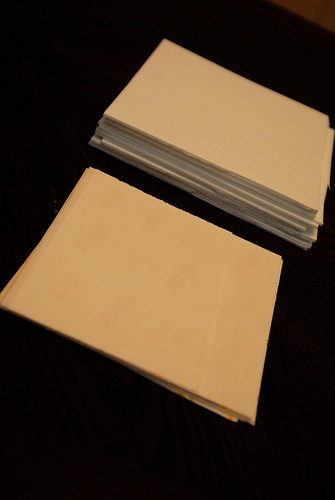
Several sheets of foam (99c from craft store. I buy the huge ones, and need 2)
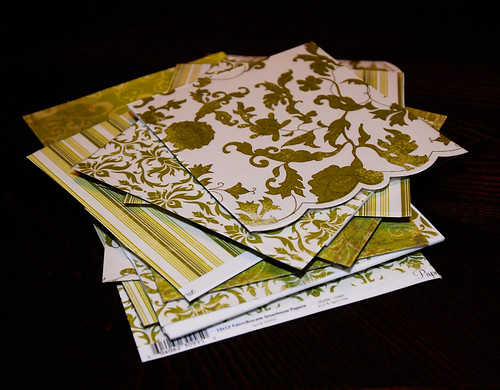
Several pieces of pretty scrapping paper (I normally get 4 coordinating prints)
Double Sided Adhesive (the kind i bought came in like 5x7 sheets, so I could do 2 coasters - albeit one creatively, lol - per sheet.)
Laminating Paper (comes in a big roll, it's the peel and stick kind. be sure it's archival quality)
Pen or pencil
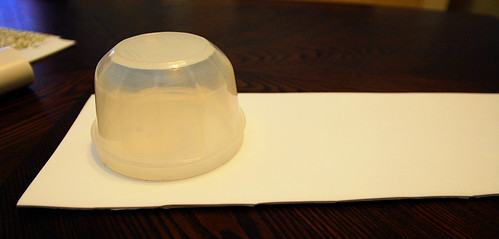
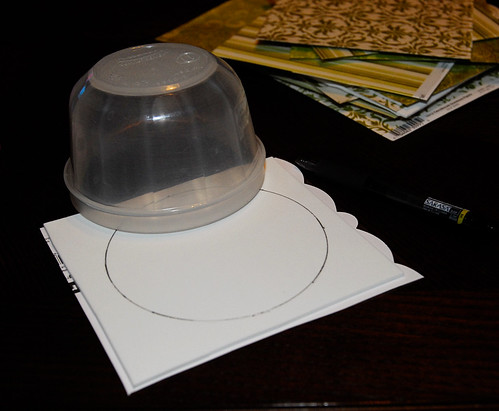
Something round that is the size you want your coasters to be (i got out a piece of tupper ware that was smaller, and used the top rim of it)
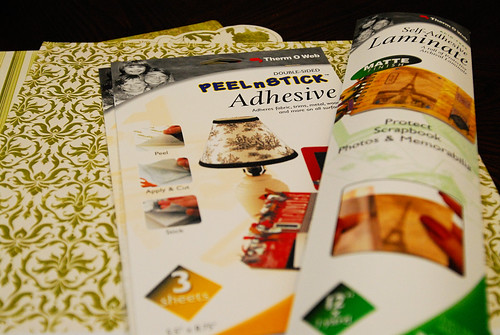
Here are the photos of the brands I used. I liked everything I used, so if yo want it to go super smooth, grab these from Michaels.
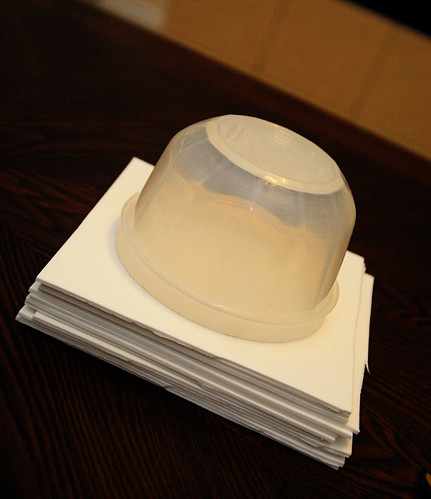
Take your bowl and put it on your foam. See how you are going to fit the circles onto that. With the big sheets, I did 2 rows of 3, so 6 per sheet. If that's the case, cut in half longwise, then measure out using your bowl into 3rds, cutting as you go. You should have 6 (per sheet) foam squares. Set aside.
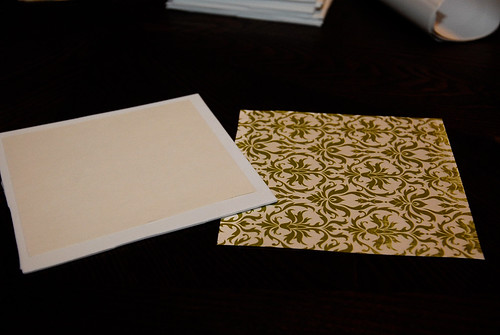
Now you want to do the same with your scrapping paper. Cut squares that are a hair bigger than the bowl. You can use either your bowl as a template or your now-cut foam squares.
Now we will cut the adhesive. Same way
And same with the laminate

To assemble a coaster you will need (from top to bottom) 1 piece of laminate, 1 piece of paper, 1 piece of adhesive, 1 piece of foam.

check both sides of your foam for flaws. If there is a flawed side, place it flawed side up on the table. If not, doesn't matter which side goes up.
Peel off one side of the adhesives backing paper. Stick to foam square.
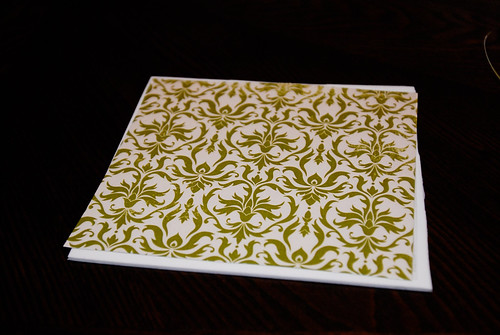
Place paper face up, stick laminate paper onto to of paper. Be sure to press evenly to avoid bubbles on BOTH steps.
You should now have 2 pieces. foam/adhesive and paper/laminate.
Now stick your paper/laminate onto the foam adhesive after peeling off the 2nd backing. Be sure to press it down evenly to avoid bubbles.
You now have an oversize, unevenly cut square coaster. Congrats, you're done!
I kid.
Flip coaster face down, take bowl and place on foam side of coaster. Using pen or pencil, lightly trace your circle shape.
Using sharp scissors, cut out circle. Be sure to use long, smooth cut lines. Many short choppy lines will result in a messy looking circle.
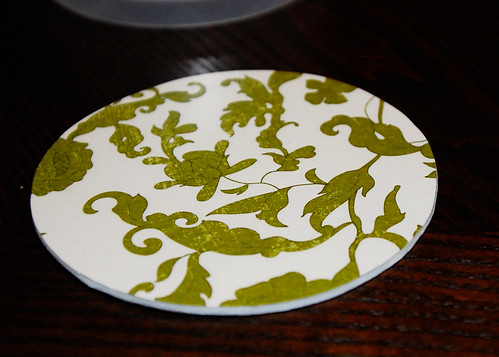

Enjoy!


 My name is Jackie, and I'm a 25 year old pro photographer and SAHM to a 4.5 year old boy, and a 2 year old girl. We live in Texas and I enjoy many crafts such as crochet, knitting, digital scrapbooking, refinishing furniture and re-purposing.
Follow my blog to see what my latest projects are, and always feel free to drop me a line at
My name is Jackie, and I'm a 25 year old pro photographer and SAHM to a 4.5 year old boy, and a 2 year old girl. We live in Texas and I enjoy many crafts such as crochet, knitting, digital scrapbooking, refinishing furniture and re-purposing.
Follow my blog to see what my latest projects are, and always feel free to drop me a line at 


5 comments:
I love this idea and can't wait to try it! Look forward to seeing the pics. :)
I'm excited to try this. I've been wanting some new coasters and this way I can pick the patterns! Thanks!
This is awesome. I need coasters and this is just what I needed to get me to do it! THANKS!
Loving this. Excited to follow your blog.
Cute idea! Can't wait to try this at craft night with my girlfriends!
Post a Comment