Hey everyone! Here is a tutorial I did this morning for how to quickly and easily reconstruct a womans t-shirt into a dress for a toddler. This was very simple.
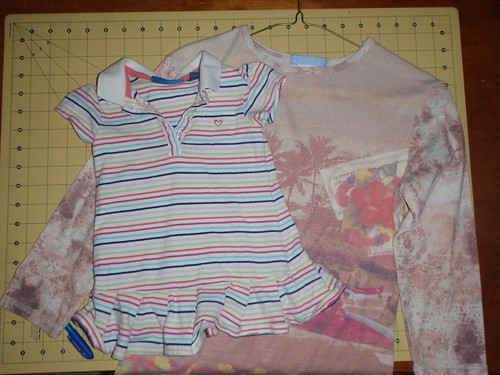
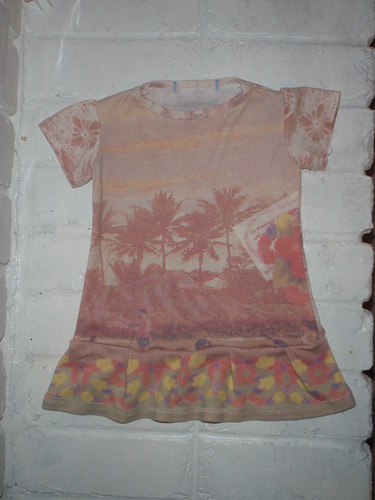
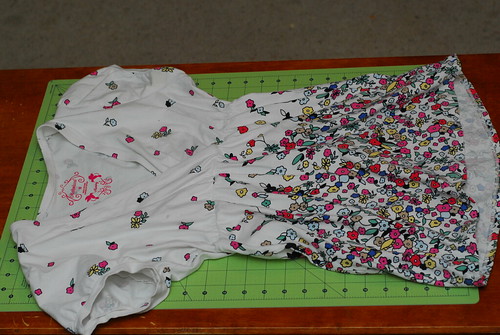
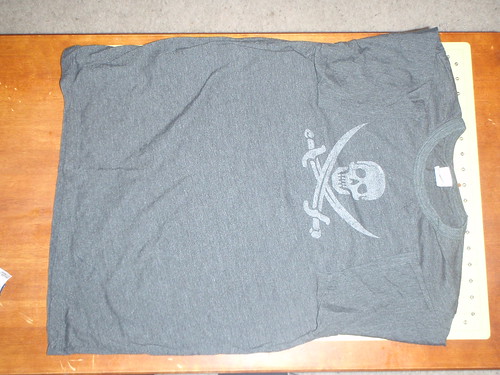
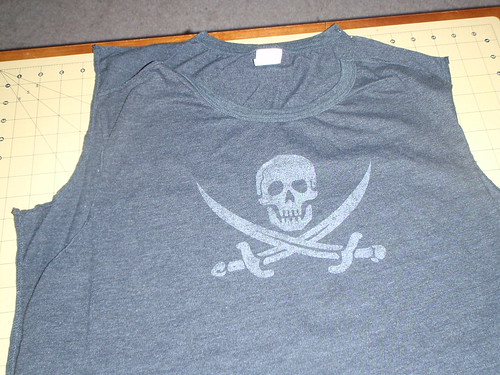
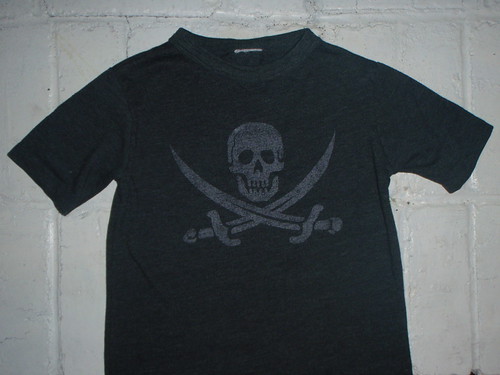
I started with a dress the style I wanted to use and that fits Lily, and an old t-shirt of mine that was too short in the body
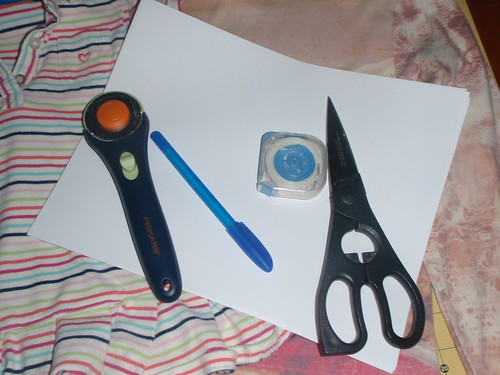
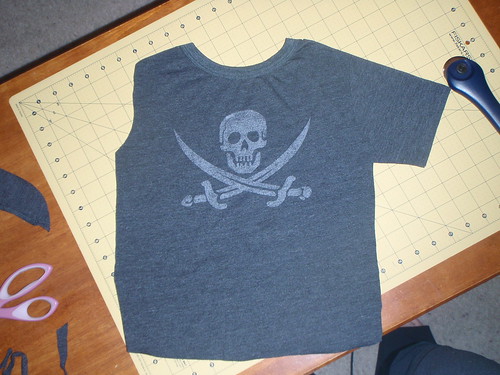
I got all my tools handy for starting the project
and I took some measurements on the rtw dress. These measurements are for a 12-18m dress. You can swipe them if you want
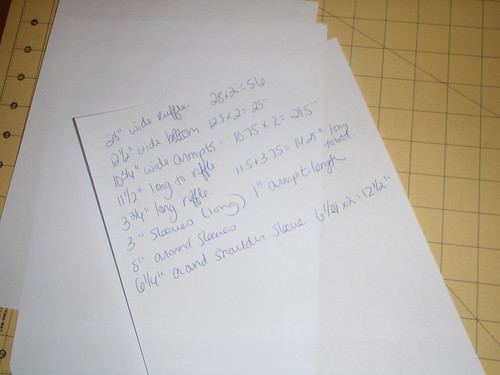
Now you won't actually be able to use ALL of these measurements, b/c if you want to make it out of JUST a t-shirt, you won't have a long enough piece of fabric to make the ruffle band that long to start with. But it's a good starting point to know how different your final product will end up depending on the difference in measurements.
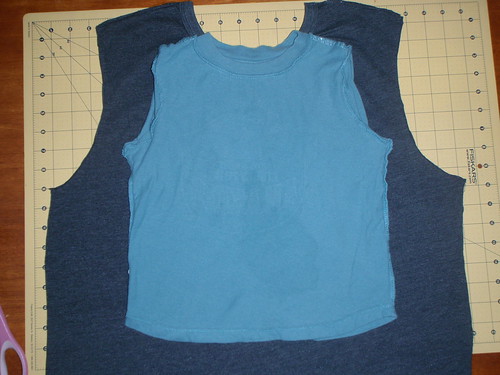
I flipped my rtw dress inside out, leaving the sleeves tucked in. Then I lined up the neckline of the shirt with the dress neckline. I traced outside of the edges of the body (not including the ruffle length) leaving a seam allowance
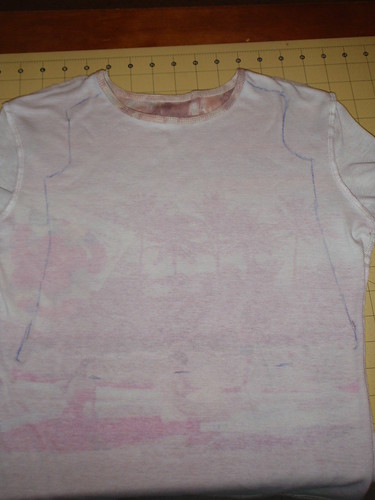
Cut it out
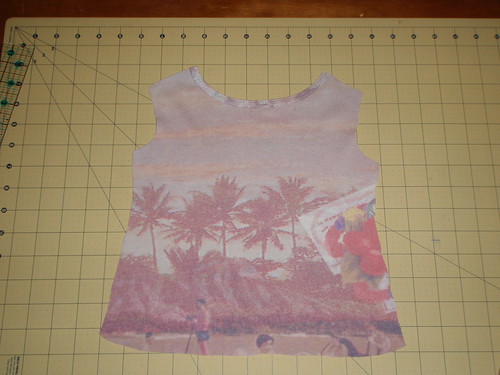
Line up the neckline with the back neckline (be sure you make it so the neck opening will fit whatever age child you are sewing for)
Cut it out
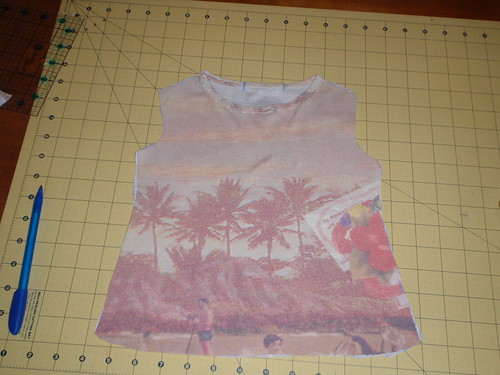
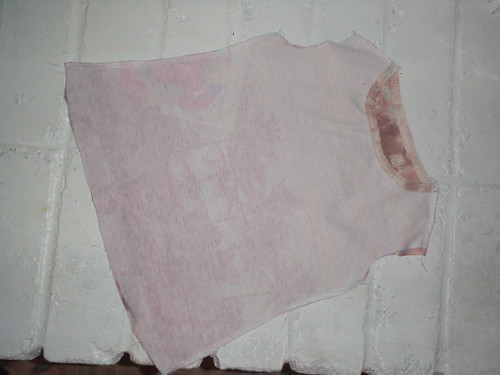
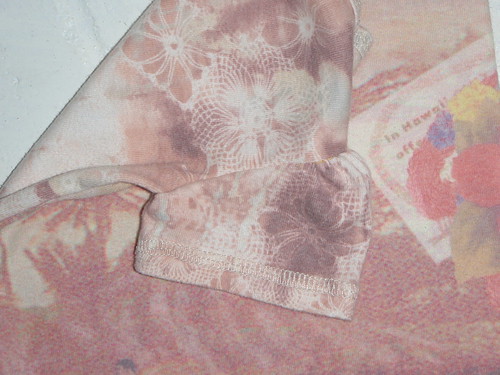
Then I took the bottom of the shirt which is still intact, and I drew a line about 3 3/4" up from the hem. This is because (as shown in the photo above)that is the length of the ruffle on the rtw dress.
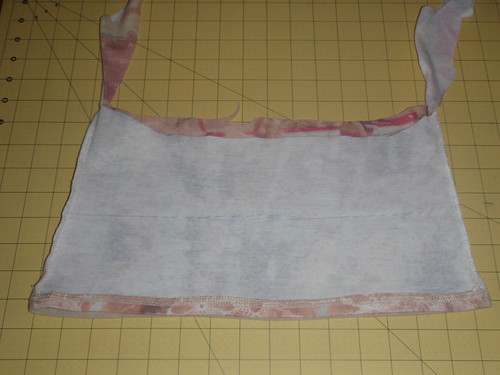
cut it out
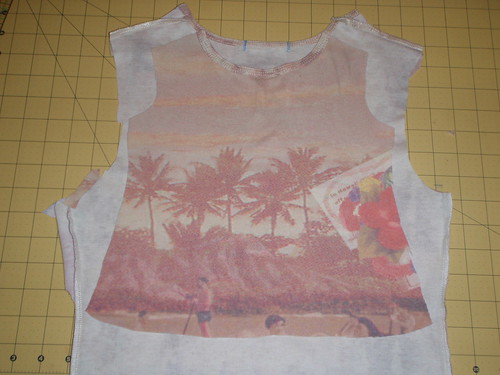
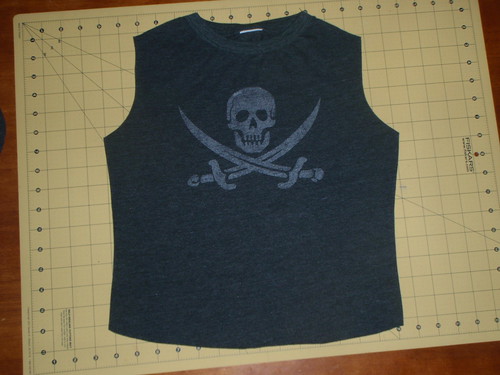
this is what you have
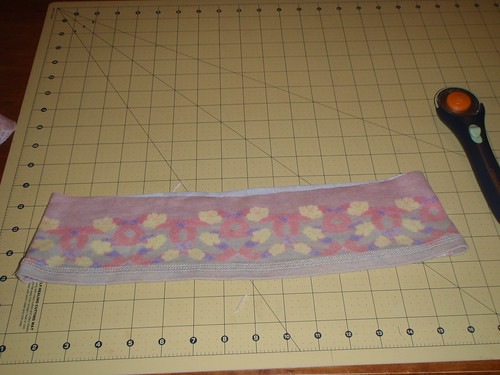
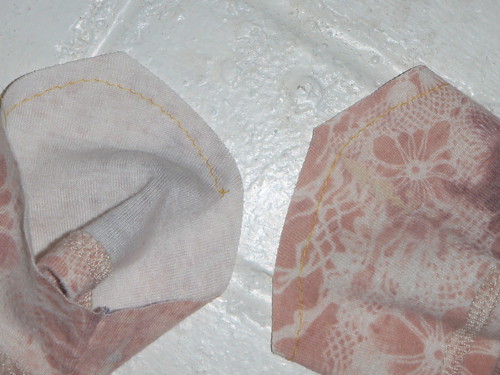
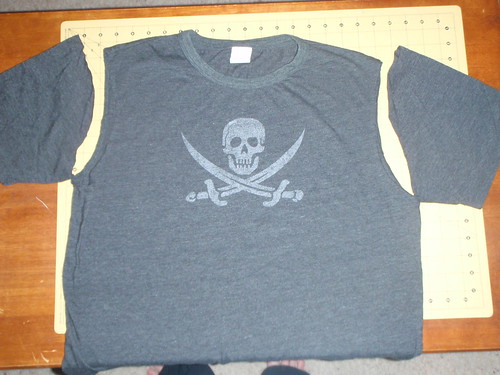
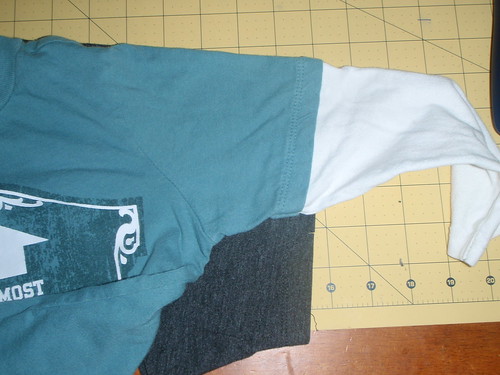
now take the shirt sleeves and measure up about 3.5 inches (the length of the sleeve from cuff to shoulder on the rtw dress) and cut two of them (one from each sleeve)

Then (i forgot to take a pic for this part) using the side of the little sleeve that has the seam, measure up about 1.25" from the cuff. Mark a line. Then cut on an angle from that marker to the top of the cut you made before on the opposite side of the sleeve. This is b/c that seam is going to be in the armpit of the sleeve, and the underneath of the sleeve needs to be shorter than the top part.
this is what you have now
And on to the sewing!!!
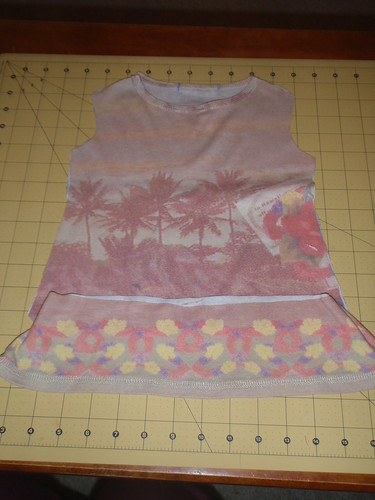
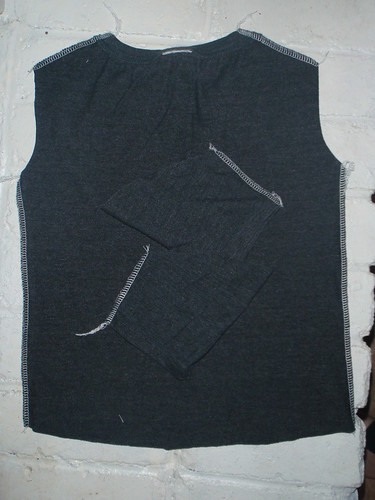
Flip body pieces rights sides together, serge along shoulder seams and down side seams. It'll basically look like a rough tank top.
sew a machine stitch over the "shoulder" of the sleeves (at the higher point). It should run about 2-3 inches long, and no knots at the ends. leave the threads long, don't cut them close.
grab one side of the long thread, and pull. it'll make the fabric ruffle up.
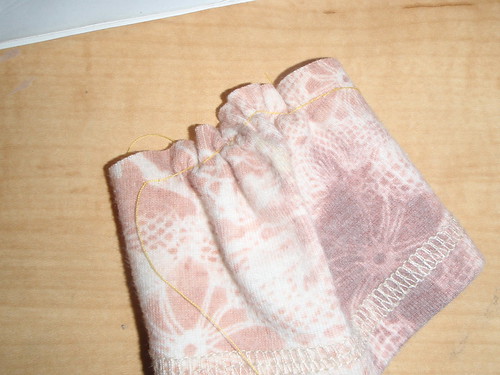
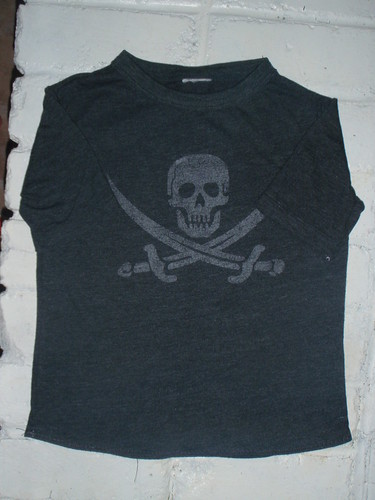
sew the sleeve on, lining up the seam with the side seam of the shirt. be sure the top ruffles are laying flat
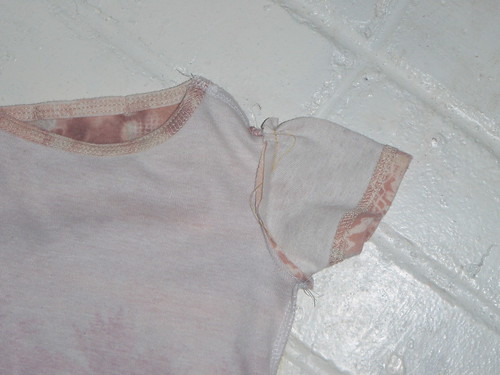
once both sleeves are sewing on, serge over them
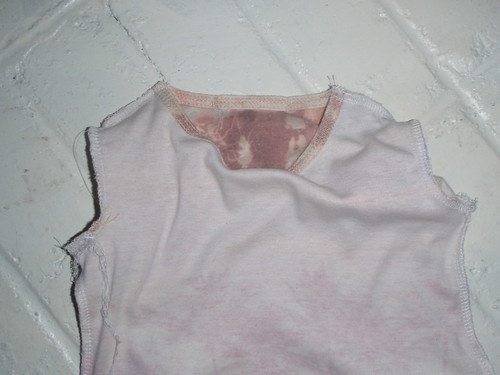
this is what you should have
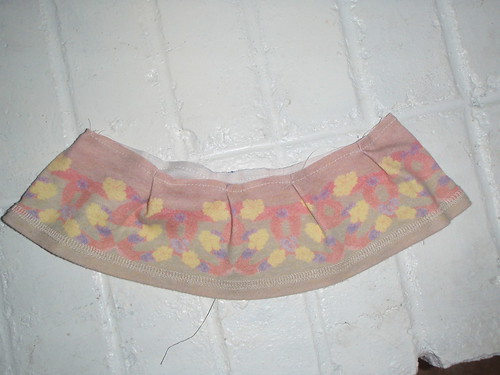
arrange the please in your ruffle piece the same distance apart and pin. occasionally measure it up to the dress to be sure the width is approx the same. if it's too big, it'll stretch the "shirt" part, if it's too small, it'll pucker.
once it's correct, sew over the pleats to secure them.
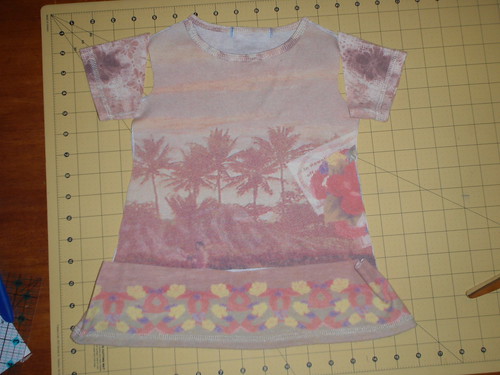
serge the ruffle to the dress and you're all done
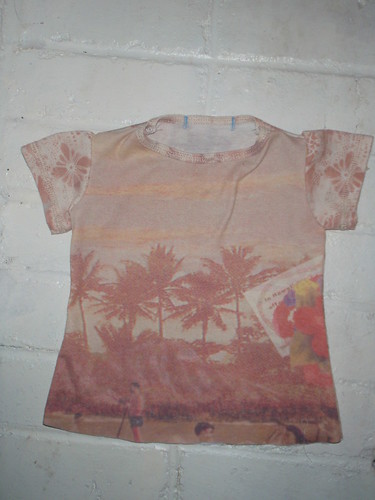
and here are some action shots


 My name is Jackie, and I'm a 25 year old pro photographer and SAHM to a 4.5 year old boy, and a 2 year old girl. We live in Texas and I enjoy many crafts such as crochet, knitting, digital scrapbooking, refinishing furniture and re-purposing.
Follow my blog to see what my latest projects are, and always feel free to drop me a line at contact@Thefabricfloozie.com
My name is Jackie, and I'm a 25 year old pro photographer and SAHM to a 4.5 year old boy, and a 2 year old girl. We live in Texas and I enjoy many crafts such as crochet, knitting, digital scrapbooking, refinishing furniture and re-purposing.
Follow my blog to see what my latest projects are, and always feel free to drop me a line at contact@Thefabricfloozie.com