Monday, July 13, 2009

Repurposed PJs

A friend gave me a big bag of handmedown clothes for Lily in the other day and in it I found an adorable knit fabric blanket that I knew Lily would never use (she has favorite blankets that never leave her side at bedtime)
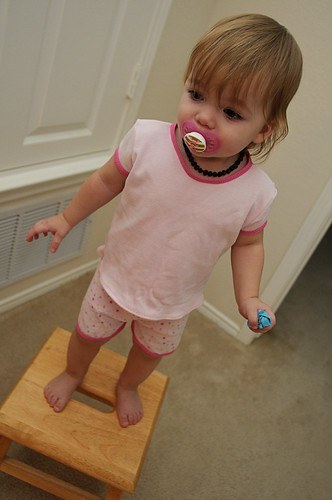
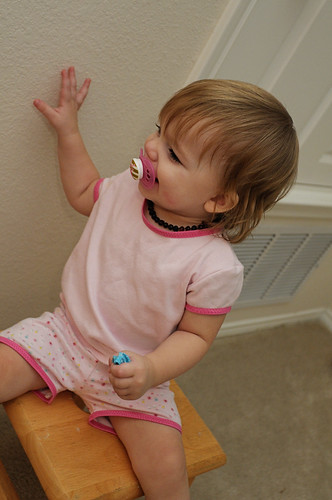
So I chopped off the binding and made her a set of Pjs.

Pjs recon'd from a blanket

Pjs recon'd from a blanket

Pjs recon'd from a blanket

Thursday, July 9, 2009

Brendan's New Room!

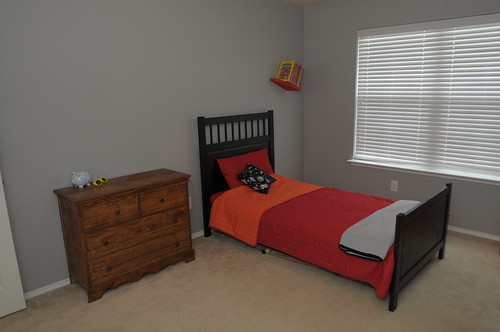
Check it out! B got his room set up! Lily's is next, but for the time being, we are enjoying our space adventure of a bedroom :)

I'll start with photos, and below I'll note where we got each item, and about how much it cost us. Hopefully that'll help if you want to do anything similar!

MAT_4586

MAT_4588

MAT_4589

MAT_4594

MAT_4593

MAT_4603

MAT_4601

MAT_4605

MAT_4608

MAT_4609

MAT_4610


We have more vinyl on order for going over his dresser. Just waiting to get it now :)
And yes, there are three areas of paint that need touched up ;)
Oh, and the dresser will eventually be refinished to black.

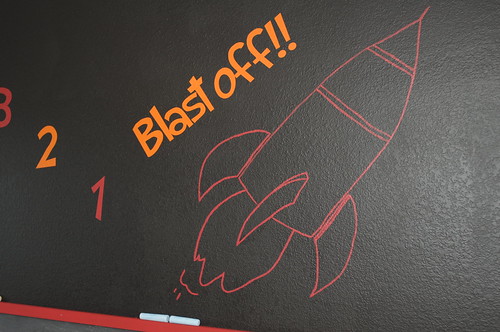
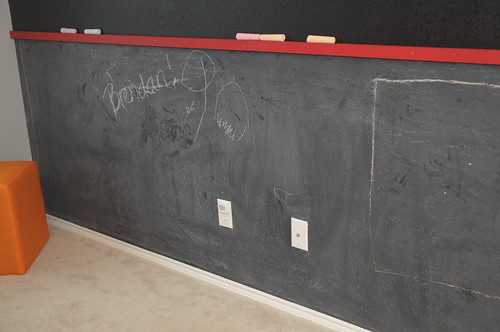
Starting with the Chalkboard Wall:
Black paint on top half: Onyx Black by Glidden ($20 per gallon)
Bottom half: Chalkboard Paint by Rustoleum ($12.98 per quart, we used 2)
Rocketship: Hand painted using a Glidden red paint sampler ($2.98)
Numbers/Blast Off!: Vinyl by Samantha ($17.00)
Red Moulding: 1x2" (I believe) moulding from Home Depot ($2.99 per board, we used 1.5) painted with red Behr Paint Sample

Other walls:
Grey Paint: Classic Silver by Behr Ultra Premium (it really is worth every penny, that paint+primer in one stuff!) ($38.00 per gallon, we used one)

Furniture:
Bed: Ikea. Approx $450 including bedding and mattress
Bedding: Ikea. Reversible comforter, and separate sheet/pillow case.
Grey Blanket: Disney Store - CARS themed. ($19.99)
Space Pillow: Made by me. Pillow premade ($6.99) from Joanns, Fabric from Joanns ($7.99 per yard, I used a half yard)
Dresser: From Craigslist ($10.00) and refinished by my husband and I
Ottomans: Originally from Target ($19.99 each) in light blue, for my business. Recovered with fabric from Joanns ($2.99 per yard, 1.75 yards of each).
Bookshelf: Ikea ($6.99)
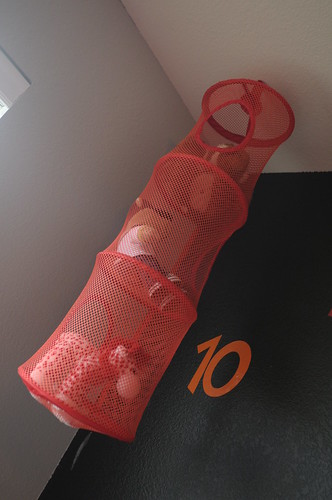
Red Toy Nest: Ikea ($unknown)

All in all this transformation cost is $132.98. We are not counting the things we already had (bed, dresser, etc) or things we repurposed from other areas of the house. This is simply the cost from start to finish of redoing THIS room.

So there's the rundown of his bedroom :)
Hope you enjoyed!!

Wednesday, July 8, 2009

Tutorial: Coasters

**UPDATED WITH PHOTOS*
Once the photos were added, I realized that i didn't exactly explain the steps to coincide with the photos I took. So I've edited the steps a little to make it easier to understand.

Get ready for the most disappointing tutorial of all time.
It's 9:44pm and my card reader just died. *bang head*
So, no photos with this right now, but as soon as I can access them, I promise I'll share.

How to make coasters for your home:

What you need:
Sharp scissors (fabric scissors are good, but you'll wreak havoc on them, so don't use spendy ones)
Several sheets of foam (99c from craft store. I buy the huge ones, and need 2)
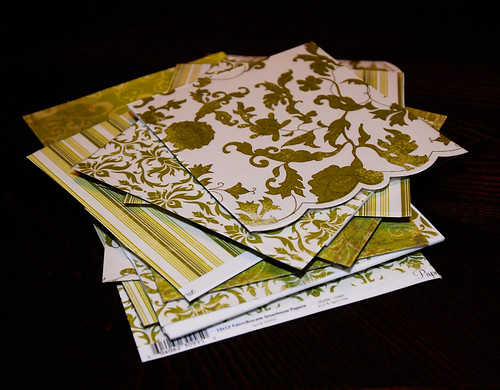
Several pieces of pretty scrapping paper (I normally get 4 coordinating prints)
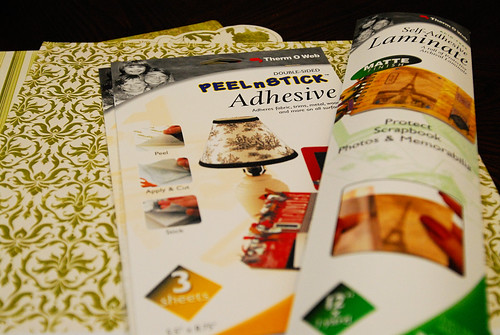
Double Sided Adhesive (the kind i bought came in like 5x7 sheets, so I could do 2 coasters - albeit one creatively, lol - per sheet.)
Laminating Paper (comes in a big roll, it's the peel and stick kind. be sure it's archival quality)
Pen or pencil
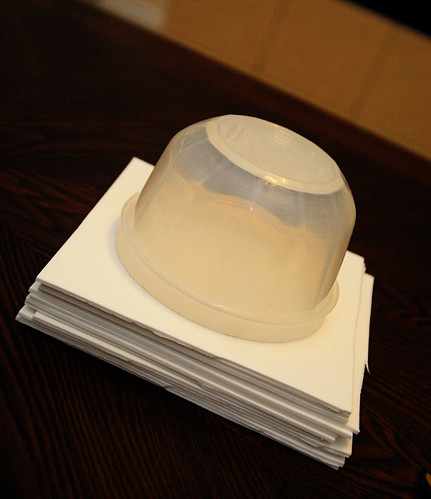
Something round that is the size you want your coasters to be (i got out a piece of tupper ware that was smaller, and used the top rim of it)
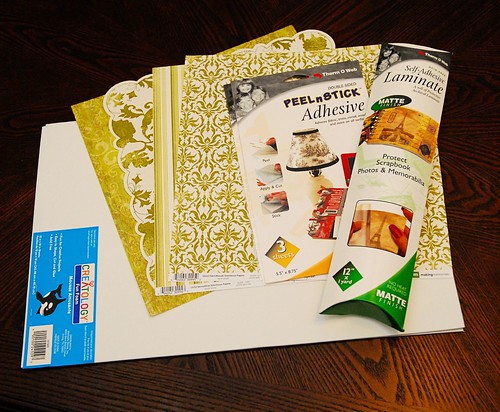
Here are the photos of the brands I used. I liked everything I used, so if yo want it to go super smooth, grab these from Michaels.
coasters (1)
coasters (2)


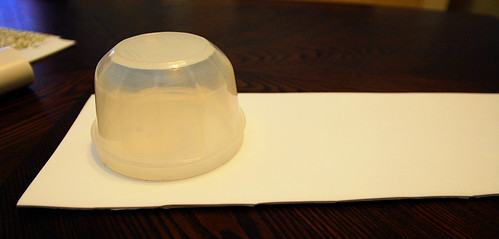
Take your bowl and put it on your foam. See how you are going to fit the circles onto that. With the big sheets, I did 2 rows of 3, so 6 per sheet. If that's the case, cut in half longwise, then measure out using your bowl into 3rds, cutting as you go. You should have 6 (per sheet) foam squares. Set aside.
coasters (3)
coasters (4)


Now you want to do the same with your scrapping paper. Cut squares that are a hair bigger than the bowl. You can use either your bowl as a template or your now-cut foam squares.

Now we will cut the adhesive. Same way
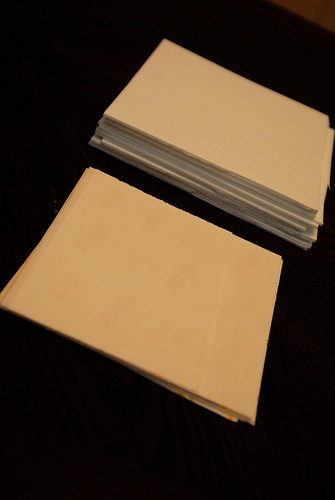
coasters (5)

And same with the laminate
coasters (6)

To assemble a coaster you will need (from top to bottom) 1 piece of laminate, 1 piece of paper, 1 piece of adhesive, 1 piece of foam.
coasters (7)

check both sides of your foam for flaws. If there is a flawed side, place it flawed side up on the table. If not, doesn't matter which side goes up.
Peel off one side of the adhesives backing paper. Stick to foam square.
Place paper face up, stick laminate paper onto to of paper. Be sure to press evenly to avoid bubbles on BOTH steps.
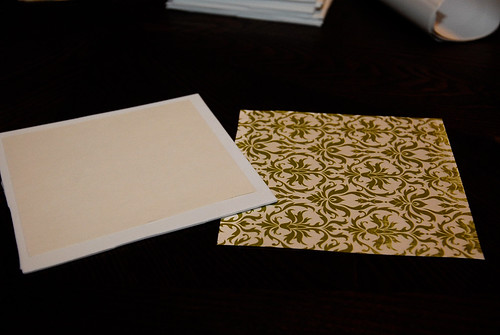
coasters (8)
You should now have 2 pieces. foam/adhesive and paper/laminate.

Now stick your paper/laminate onto the foam adhesive after peeling off the 2nd backing. Be sure to press it down evenly to avoid bubbles.
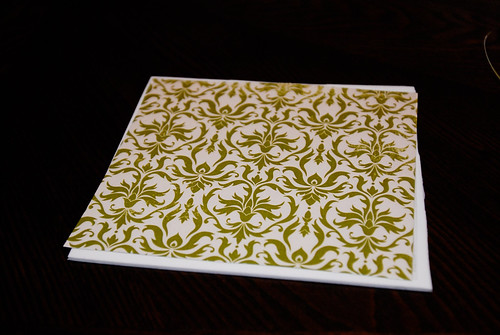
coasters (9)


You now have an oversize, unevenly cut square coaster. Congrats, you're done!
coasters (12)

I kid.

Flip coaster face down, take bowl and place on foam side of coaster. Using pen or pencil, lightly trace your circle shape.
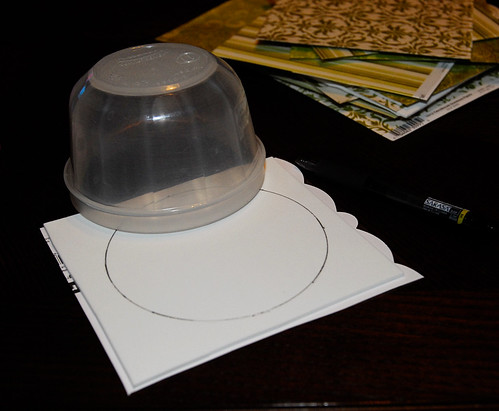
coasters (13)

Using sharp scissors, cut out circle. Be sure to use long, smooth cut lines. Many short choppy lines will result in a messy looking circle.
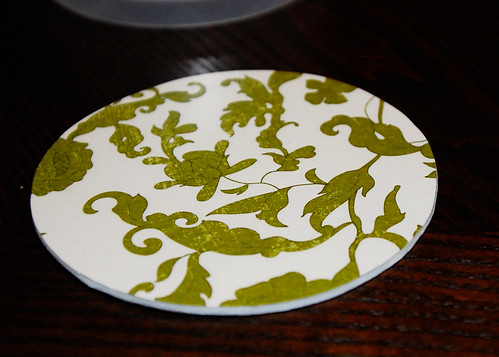
coasters (14)

coasters (15)

Enjoy!

It's coming!!

My last week has been a blur of paint and moulding and vinyl! LOL
Today I'm going to be posting the coaster tutorial, as well as pictures of Brendan's new space themed bedroom, and probably pictures from recovering an ottoman (easy peasy, you should try it)
So please be sure to check back tonight to see it all!
And if any of you who voted have not gotten your comments yet, they are coming, I swear it. This week has just been crazy!

Tuesday, June 30, 2009

I need your help!

Hey everyone! I know it's been a while. I've been SO bad about updating any of my blogs b/c I've been terribly busy with work, sick kids, and a birthday party. I have photos to post soon that are a tutorial of the coasters, I promise :)

Here's where I need your help...
You know that my day I'm a Wedding Photographer in North Texas... My partner and I were just nominated for the Dallas' Best Of competition, in the wedding photographer category.
Within 24 hours of us being added to the competition, we've gone from 82nd place to 8th.
We are hoping to crack the top 3 today! but we can't do it without your help!
Please visit http://www.tinyurl.com/jrpkrp and vote for us! If you comment on this blog post that you voted for us, I'll hit up your blog and comment on 5 posts :)
Thanks so much!!

Thursday, June 25, 2009

Coasters and Shelving - the dining room is taking shape!

Well, I'm finally getting moving on the dining room again. My progress was halted by 2 head colds, 1 stomach virus, 1 birthday party, and 5 house guests. LOL

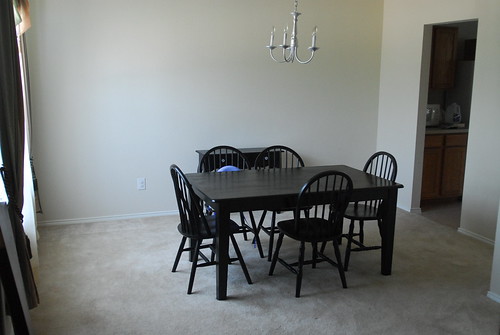
First off, here is the before (you can also see the finished dining table!). Oh, and by the way, that light fixture was an ugly brass color, and has been refinished silver to go better with our primarily-black dining room. (But I promise, more color will be added soon ;))
DSC_0003

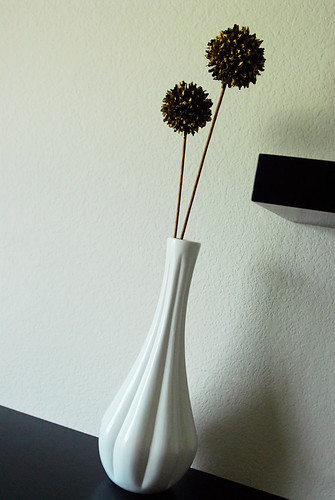
However on that back wall, where my new side table (also refinished) is looking particularly dwarfed... now that's been moved and these shelves have been put up in its place
DSC_0007

Like my new vase? Thanks, me too. $4 at Michaels today!
DSC_0023

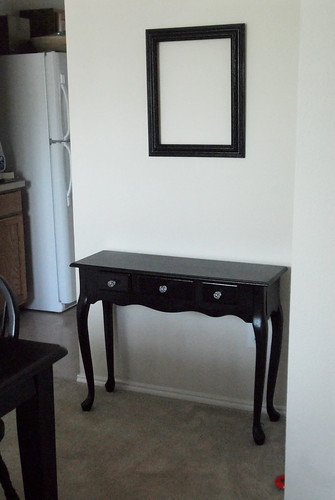
The side table has been moved to the wall on the right by the door to the kitchen, and one of the refinished photo frames hangs over it (temporarily empty)
DSC_0010

So that's my dining room progress for the day (there is a little more, but no pics just yet of it)

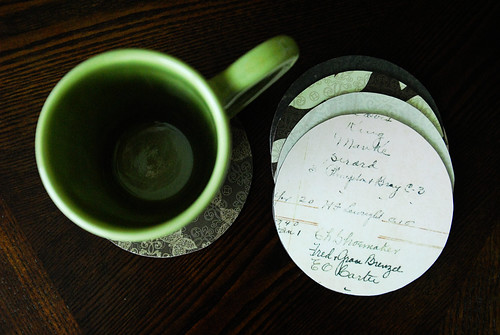
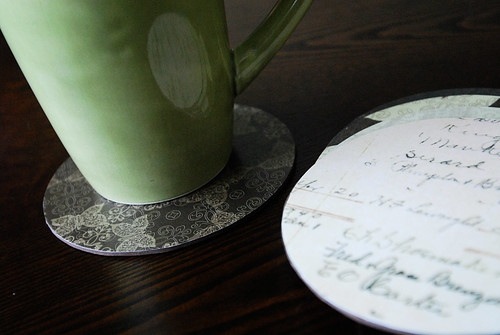
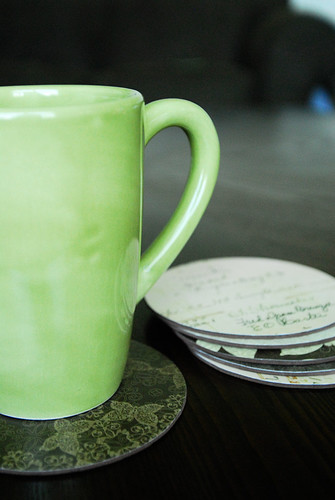
Then in our living room, we have our new couches and coffee/end tables. Since they are new, and we are anal for the time being, we needed coasters. I couldn't find any i loved anywhere, and the only ones that came close rang in at $30 from Pier 1. Uhhh, pass, thanks.
So I decided that since eclectic always wins in my book, I'd make them myself.

DSC_0019

DSC_0017

DSC_0022

Just laminate, scrapbook paper, double sided adhesive, and foam. Easy peasy and oh-so-cheap (just the way I like it) ;)

Monday, June 1, 2009

The finished Master Closet

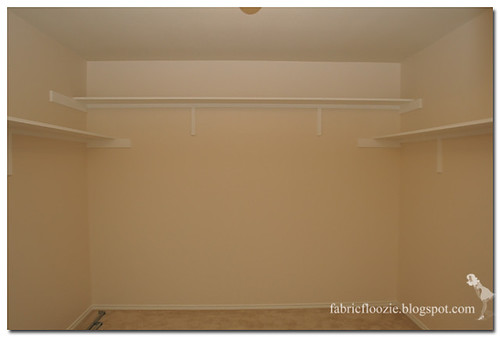
The closet is finally done. The longest paint job of all time is finally complete. LOL

After seeing a coat of the dark brown on the shelves, we nixed it and went back to white.
It just wasn't a great color.

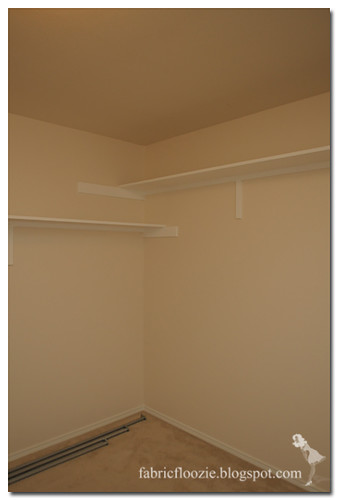
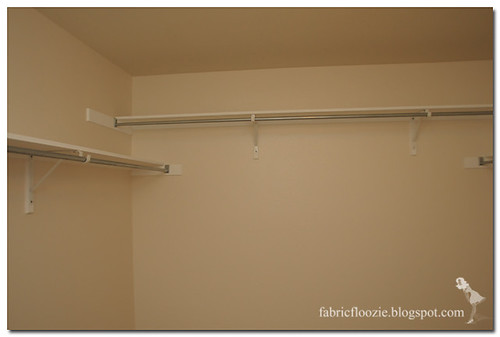
Here is our dreary, dirty looking before


and here is our brighter, clean, "after"


Not as big of a difference as we were hoping for (since the brown didn't work out) but it's brighter (a more peach toned tan than the previous brown/grey toned tan), cleaner (all the nasty scuff/dirt marks on the old flat paint have been covered with clean satin paint), and smell free (no more dog urine!!) So it's a win win :)